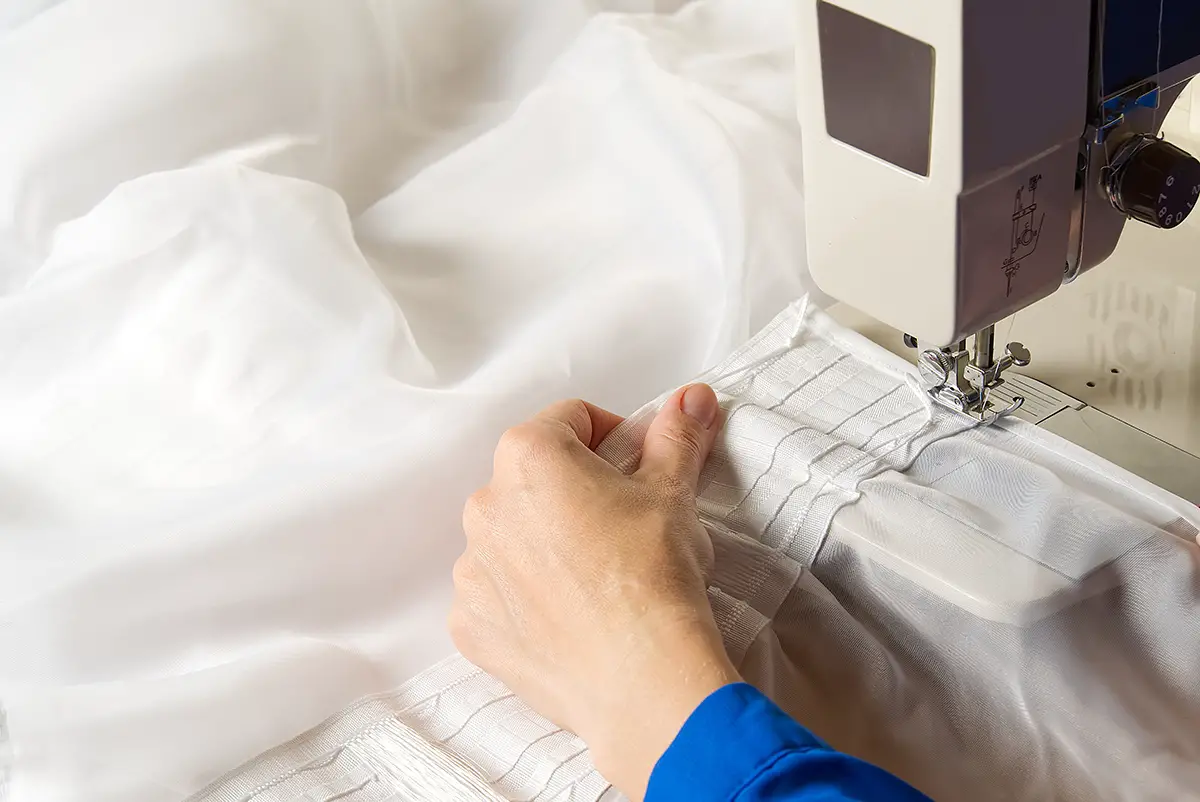
It can be incredibly easy to make curtains, and potentially cheaper. All it takes is a few hours and a few helpful pointers. Let us provide the latter and read on for our step by step guide!
Simple Curtains
The step by step guide below is for a simple curtain design that will hang from a curtain rod. There are only a few core items that you will need to put together:
- Tape measure
- Fabric – make sure that it is at least 5 inches longer than the distance from the curtain rod to the windowsill.
- Curtain rings – these can be picked up in any homewares store and are available in a wide range of colours so choose one that will fit with your interior scheme.
- Thread
- Needle
- Sewing machine
- Ruler
- Fabric marker
Step by Step
Step 1
Measure up – use your tape measure to work out how much fabric you will need and use your fabric marker to act as your guide. Measure both width and depth and always allow enough on each side for a tidy theme. As a rule of theme at least half an inch will do.
Measure from the place where the curtain will hang from the curtain rings and down past, the windowsill. The width is a different story. You must make sure that you double the actual width of the window. If you don’t do this, the curtain will look narrow and won’t billow appropriately.
Step 2
Armed with the scissors, cut along the markings that you made earlier. Try and cut as straight or as precisely as you can and use a ruler as your guide for the ultimate straight lines!
Step 3
Now is time to press the hems into place. Fold over about half an inch of the fabric on each side. With a hot iron, press then fold into place. This will help you when it comes to dealing with the sewing machine.
Step 4
Get your sewing machine ready with your chosen thread and sew that pressed hem into place. To secure the thread ends, at the end of each line of stitching, backstitch a few times – this will secure the thread into place. Cut off any excess thread.
Step 5
Grab the curtain rings and clip them to the fabric. Distribute them evenly along the width of the curtain so that when you hang it, it will hang evenly.
Step 6
You are almost there! Curtain ties are the finishing touch. You can take or leave these, but if you want a bit of added panache it is worth the effort and trouble.
Using the same fabric as your curtains, decide the length and width of your ties. Some people like a wider tie whereas others prefer something much narrower. The choice is yours. Once you have decided the width, double it. Then, once the fabric has been cut, sew the two edges together, leaving the bottom open.
Don’t worry about hems for the curtain ties. After the sewing has been completed, turn the fabric inside out, using the opening to thread the opposite end of the tie through. Sew up the opening and cut off any stray threads that might be lurking at the corners.
The Finished Article
Press the finished curtains and ties with a hot iron. Then hang them on the rod with pride. Curtains are surprisingly easy to make, so don’t be intimidated and start planning your home makeover!

