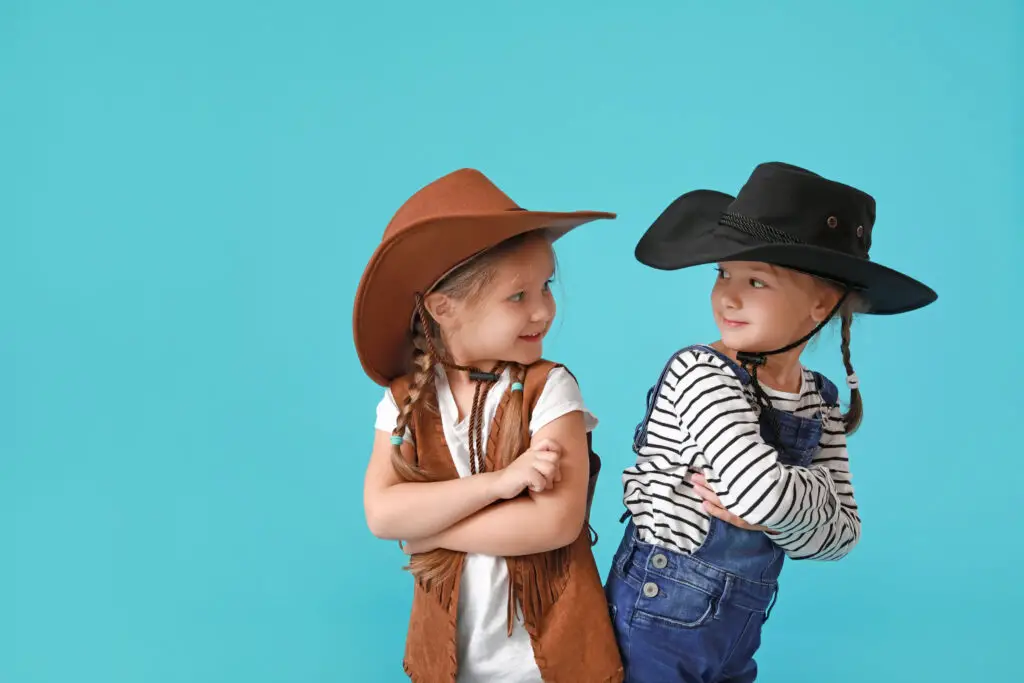
Get on down! It’s time to make a cowboy costume, and we have the perfect step-by-step guide. This will get your little cowboy up and running for the party in no time. All it takes is a little time and a little imagination.
What You Need
Cowboy costumes need a few basic ingredients to help them on their way. Some of these you can find lying around the house and some you will have to get the needle and thread for: Boots (wellies will do at a push but ideally you want proper cowboy boots).
- An old pair of jeans
- Checked shirt
- Handkerchief
- Leather belt
- Suede material
- Needle
- Thread
- Scissors
- Ten gallon hat
Getting Started
A lot of these items are going to be loitering around the house – you are bound to have a handkerchief a pair of jeans, a shirt and a pair of boots that you can make use of for the project. However, there will be some added details that you will have to sew and create yourself. We will start with the easy stuff first.
Put on the jeans, shirt and tie the handkerchief around the neck of the little cowboy. Step back and have a good look. You are almost there with the finished product but not quite. Is there something missing? Of course there is! Chaps!
Chaps are worn by cowboys when riding their horses and exploring the plains of Texas and Montana. They are the key detail that will set your cowboy outfit apart from the rest.
Chaps
You can use suede or suedette material – the choice will largely depend on what you have leftover in your material drawer and how much you want to spend. Don’t rule out other materials either – leather or toweling; whatever you have to hand.
Step 1
Measure from the waist down to the top of the foot – this is the length of the chaps. Ideally, you want them to wrap round the leg so measure accordingly. Some basic patters have just the chaps showing at the front and if time is of the essence, go with that option! Then mark your fabric with the measurements. The basic shape needs to be oval, with curves at both the bottom and top.
Allow about half an inch for each side of the chaps – you want to hem and finish the item properly.
Step 2
Once the fabric has been cut out, get a hot iron and fold over the half an inch so that when the iron passes over it, it is pressed into place. This will act as your guide when it comes to the sewing machine.
Step 3
Sew those hems into place with the help of your trusty sewing machine. Use a basic stitch and remember to use the right needle for your chosen fabric. If you are using leather you will need to use a stronger and more durable needle and thread so adjust accordingly.
Step 4
Once all the hems have been secured and all the stray threads have been removed, its time to secure the chaps to the belt.
Use a leather needle and a thick thread – a wool based one is perfect – and loosely tack the chaps to the belt. Do this at both the front and the back. If you don’t want to ruin a belt with lots of thread holes, you can always use a glue gun and secure the chaps that way. Or you can create loops of thread and simply hook them to the belt.
Putting it Together
As with all costumes it’s important to put the right make up, accessories and image together if you are going to pass off the outfit as a cowboy one. For a cowboy you need some slicked back hair, a tanned face, courtesy of bronzer. Also, don’t forget the all important piece of straw, casually chewed in the mouth by the little cowboy! And there you have it – fit for a party or simply for play!
