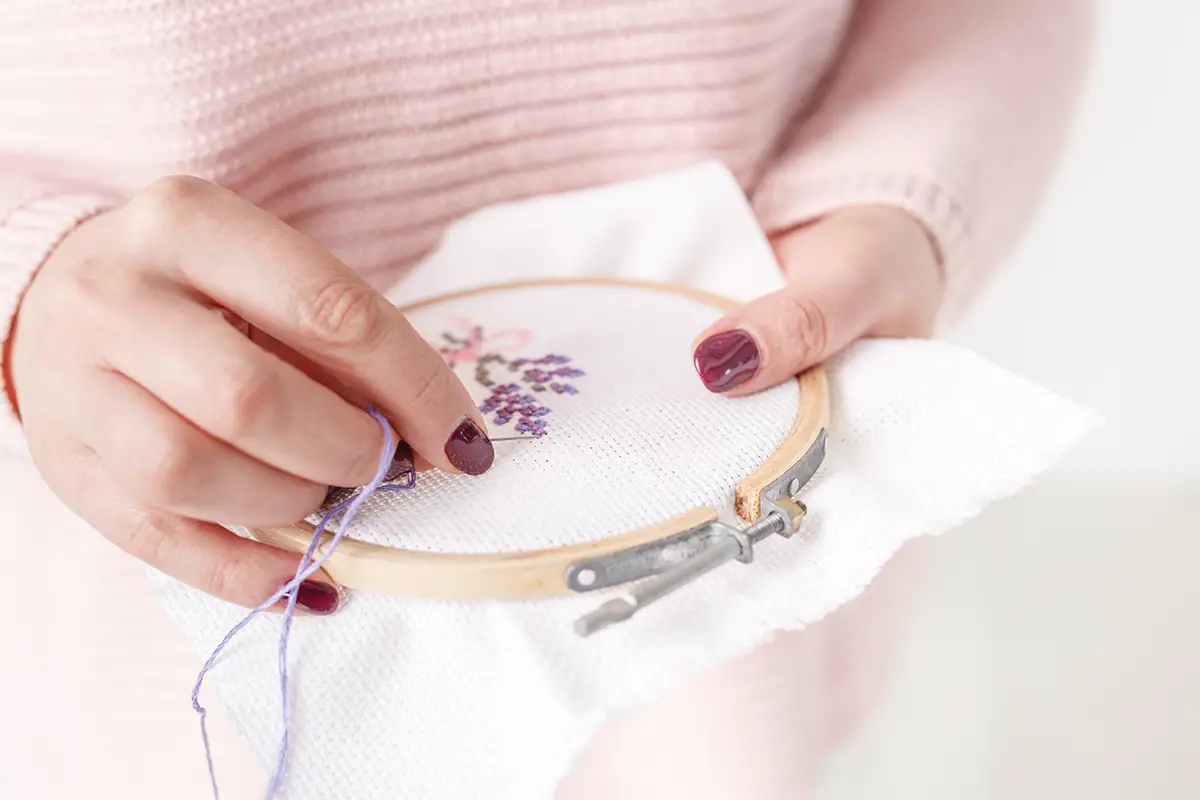
Embroidery is a fantastic skill. You can create large-scale pieces or simply add initials to a gift for the ultimate personalisation. Read our quick guide and find out how to get started today.
The good news is embroidery is relatively straightforward. There are three main stitches that you need to master before you can get going, and they are easy to learn.
So let’s look closely at an embroidered design. When you do, you will notice that there are three main stitches used to create amazing pictures; satin stitch, run stitches and fill stitches. And that’s it. With some gauze, a pattern of your choice, some coloured thread and the right needle, you can be up and away in minutes.
Satin stitch
A satin stitch can be described as looking like a column. They are great for any patterns with borders or letters as they allow you to cover the area in a horizontal stitch. They can be anything from a few millimetres wide to a centimetre – it all depends on what you need for your design.
The stitch is sewn from side to side. If you look at a finished article, you can spot the satin stitch as it looks like a zigzag. Insert the needle from the underside and draw the thread through, before placing the needle down through the fabric. Repeat this motion, creating a zigzag as you go.
Fill stitch
If you need to fill large areas of your design with colour, the fill stitch is the one that you want. They are an efficient way of covering a large amount of space in a small amount of time. They can also be used for those lettering areas, where a satin stitch would otherwise be too fine and tricky to use.
Fill stitches are glorified run stitches, enlarged to fill that space. They are created in exactly the same way as the run stitch, with a single line of stitches, placed from side to side. The only difference is that here the stitches are much bigger and are grouped together so that none of the gauze or pattern design can be seen from the top.
Run stitches
Running stitches are quite precise and fine. They are nothing like the running stitch you may have encountered in sewing. There is no puckering of the fabric here at all!
They appear as a single line on the design and are great for outlines and intricate areas where you need a lighter touch.
They are also really easy to do. It is simply a case of running the needle back and forth through the fabric, creating one stitch at a time.
Beyond stitches
Stitching is one of the core techniques for embroidery but there is a whole other world of information that you need to look into!
You need to use the right needle when you undertake your embroidery project. That’s incredibly important. Just as when you are sewing with a machine, a blunt needle is going to lead to less than perfect results so make sure that yours is sharp, new and of a decent quality.
Many new embroiders opt to use a hoop. A hoop secures the design and your fabric and if you are dealing with slippy fabrics like silks or velvets, it’s pretty much essential that you have one. When you pick up your design it’s therefore worth keeping in mind the size of the hoop that you will need to use.
Recap
There is so much to know about embroidery. It’s an amazing skill and there are so many different things you can learn which makes it a great lifelong hobby! We have only just touched on the basics but these should hopefully get you interested and on your way!!

