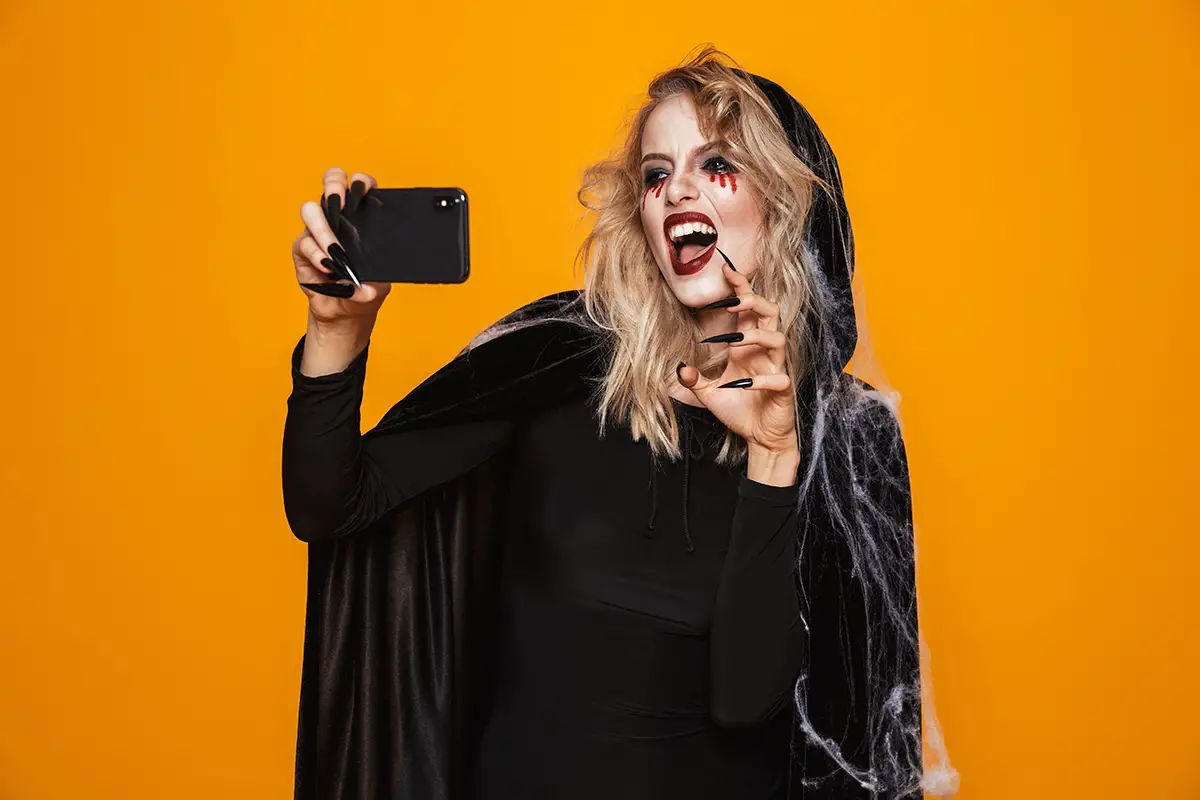
There is no better outfit for Halloween or fancy dress than a witches costume. A witch’s outfit is striking memorable and easy to put together. So what’s stopping you? Read on and find out how you can be the wickedest party guest this year.
What You Need
Witches costumes are often a mixture of accessories that you can pick up in crafts shops and some homemade items. Here is a quick list to give you an idea of what you will need to bring the outfit together:
- Black clothes (these are your canvas so use an old long skirt and long sleeved top)
- Makeup (strong colours and feel free to add a strong red or even black lipstick)
- Boots
- Card
- Black and red material
- Needles
- Scissors
- Sewing machine or thread for hand-sewing
- Fabric marker
The Basics
All witches, without question, need a cape! It creates a magical look and other than the hat, is the key item to finish off the costume.
Step by Step
Here’s a quick guide on how you can put your very own cape together without resorting to buying a shop-made version.
1. Get hold of some fabric – you will need both black and red fabric. Go for a man-made fabric because it will have plenty of shine. You want both pieces to be the length of your body and at least three times as wide as you.
2. Seam – for both pieces seam all the edges. Create a seam at least half an inch wide and fold over before pressing it into position with an iron. Then enlist the help of your sewing machine to secure the fabric in place with a simple stitch. Run the machine over all four sides of each piece of fabric.
3. Press the fabric – get the iron on again and press both pieces of fabric. Rid of all those creases before you secure it around the neck of the witch!
4. Secure the pieces together – the red fabric is your lining so it needs to be sewn to the black fabric. Pin the two together carefully, ensuring that all sides are even. As with the seams, run the machine over all four edges. A sewing machine is the quickest way of securing the pieces together but if you do have time, by all means, hand sew the two.
5. Creating a necktie – how you secure the cape around the neck is after you. A black ribbon sewn at each side is an easy way of doing this and it looks great too. Simply get hold of two pieces of, either black or red, ribbon and sew the end of it to the underside of the cape. Then simply tie into a bow to get that cape flowing!
Putting it Together
With the cape and the base of the outfit sorted, it’s time to make the hat. All you need for this is some black card, cut into a rhomboid shape – i.e. the bottom edge must be wider than the top. Roll it up to create a pointy, hat shape and staple the card into place. Feel free to add glow in the dark stickers or drawings with a silver marker.
Paint your face. You can do anything – paint a green face a la Grotbags or go for a pale face with dark red or black lips! Don’t forget to draw on a mole or two and line the eyes with a jet black eyeliner to create some drama.
If you have long dark hair wear it down and if you have short hair, get a wig and place it under your witch’s hat. So what’s left to do? Hardly anything! Simply grab a broomstick and head out the door!

