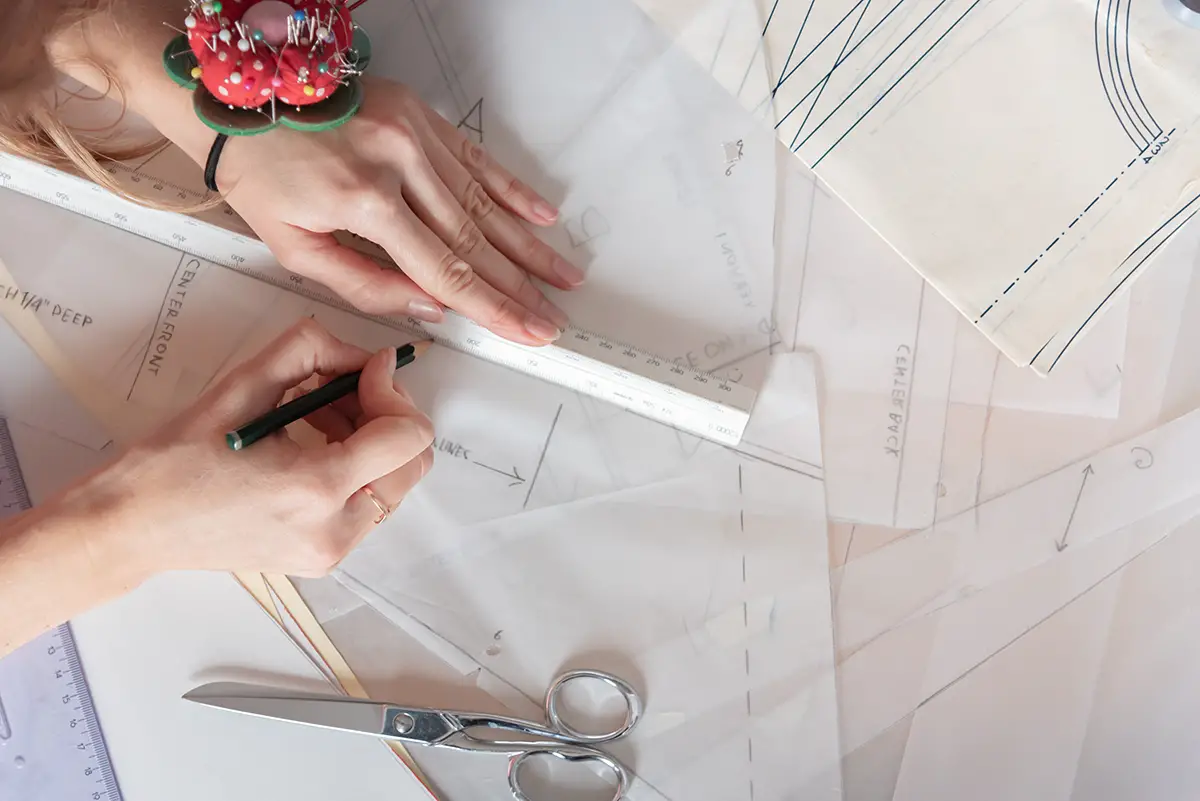
Not all bodies are equal, and not all patterns have been designed to fit our figures. Sometimes you will have to resize the pattern you have followed religiously. How do you do that? Simply resize it! It isn’t as hard or as challenging as it sounds!
What you need are some of the tools that you will need to have on hand to make this a success:
- A cutting service (preferably with a one-inch grid)
- French curve
- Pattern paper (tracing paper will do)
- Pens for marking
- Pins
- Scissors
The Guide
The following guide gives you some tips for reshaping patterns to better fit your needs. Resizing a pattern involves a lot of measurement taking and some time, but the payoff is a perfectly made piece. So it’s well worth the investment!
The first thing you should do is take the measurements from the person you are making the item for. They are likely to have quirks in their body shape that are not catered for in the standard pattern. Note all the measurements you can. This is your first step. Now examine the pattern in front of you. Apply the measurements you have taken, marking areas where you need further allowances and areas where you need to make the lines smaller.
Double and triple check your markings if this is the first time you have resized a pattern. If it helps, cut the pattern into distinct sections so that you don’t get confused. For example, sleeves and necklines can be treated separately and then brought together in the final making.
Save the Muslin
Muslin is essential when resizing patterns. Muslin is the only way you can test the success of your adaptations. Before you commit your scissors to the fabric, run through the process with muslin. This way, you will find out if your changes have worked or not. It is also a great opportunity to make some alterations for a perfect fit. Once you are happy with the finished muslin toile, simply take it apart and use it as your base for the final piece.
Common Problems
These are some of the most common resizing requirements so don’t feel embarrassed by the need to make those changes:
Changing the Waist
Some of us have been blessed with a short waist! What this means is that the average pattern’s waistline will hit you on the hip rather than the waist.
A short-waisted figure is around 15 inches from the nape of your neck to your waistline. Take your measurements and see if the following rules apply to you. To correct this problem, all you have to do is draw a line, about two inches above the pattern’s prescribed waistline. The line should go all the way across the pattern to act as a firm guide for you.
If you are making a top you can stop here and ct out the pattern. Those making dresses should continue to fold the two inches of extra pattern paper to meet that line. This will mean that you can continue with the rest of the pattern, with the short-waisted adaptation intact.
Changing Skirts
Skirts are one of the easiest pattern items to change. The most common reason for needing to make that skirt bigger is hip sizing. It is very common to need to make an allowance of an inch or two so it is likely that you will come across a need to change this as you go through sewing projects.
If you are making a basic two-piece skirt – with two pieces of fabric sewn together – you will have the easiest job! All you have to do is add whatever you need to the side seam and you’re done. Add the seams with French curves to give a flattering shape to the overall piece.
Recap
Resizing sounds like it is going to require a head for numbers. In fact, it’s pretty straightforward and will give you a great experience. In no time, you will probably be able to make your patterns from scratch!

